Make Single Name on Facebook
 |
| How to make single name on Facebook |
Are you wondering how to hide the last name on the Facebook account? Are you looking out for ways you could make a single name account on Facebook? If yes, then you have come across at the right place. In this article, we will tell you how to make a single name account on Facebook without proxy and how to make a single name account on Facebook using mobile.
Have a look at the trick to make a single name Facebook account to hide the last name:
 |
| 2 |
2. Put login details to open your Facebook account. Now, click on Settings that you will find on the bottom of the page.
3.Scroll down to Language option.
4.You will come across various options, you need to further click on Show Facebook in this language and then change the language.
5.Select Tamil from the list of languages. Try to do it in Google chrome browser so as you can easily translate the page and understand the information.
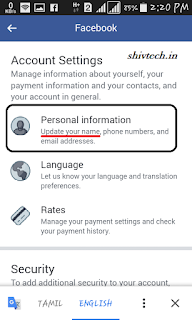
6.In this step click on Settings again and then further click on Account setting option. Now, click on the Personal information and click on Name further edit it as you want.

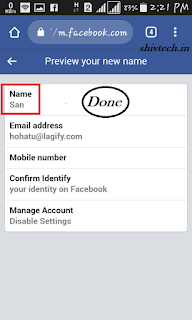
7.Now remove the last name and then click on Validation Change to look for the changes in the name.
8.In this step you need to Enter your Password so as to save changes. You can change your language back to English.
That is it, you have successfully made a single name account on Facebook using Mobile.

Share This :


comment 0 Comments
more_vert